
Upcoming intakes 1 classes open
- Starts 30/10/2026Đào tạo công ty SAP Etabs SafeOnline
Schedule 20h00-22h00 thứ 2,4,6
Venue Online - Toàn Quốc
About this course
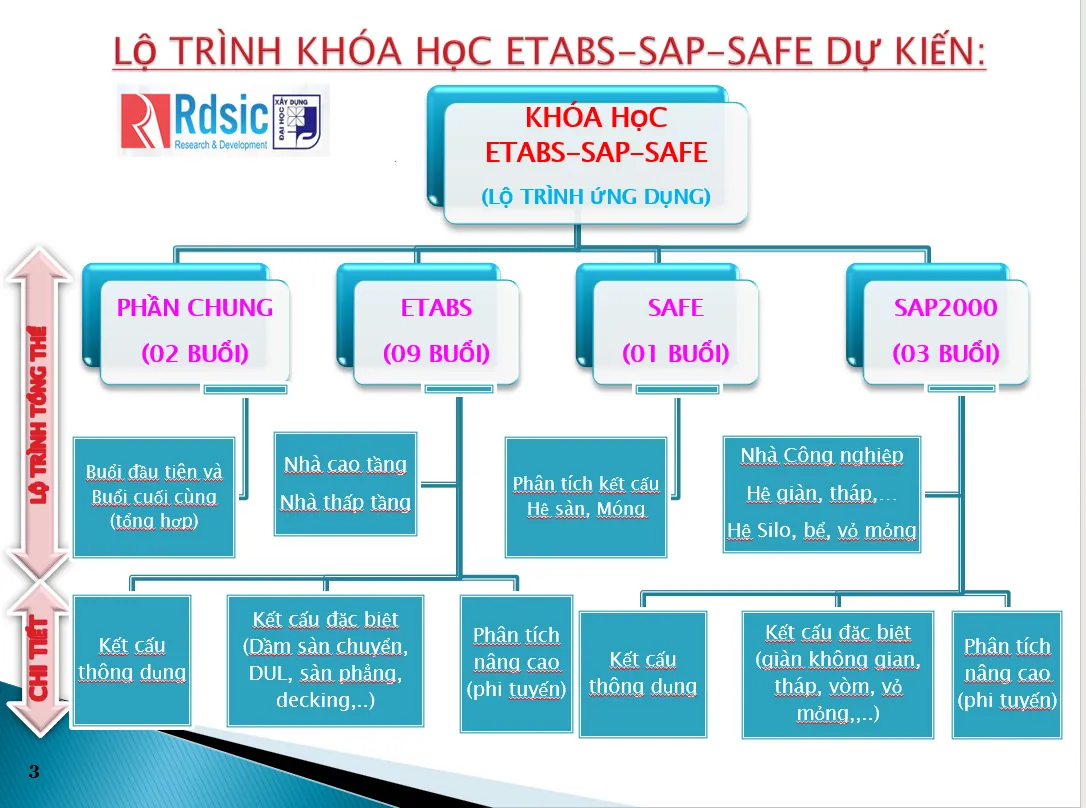
This ETABS course is RDSIC's 15-session high-rise structural design programme covering ETABS, SAFE and SAP2000 in one workflow.
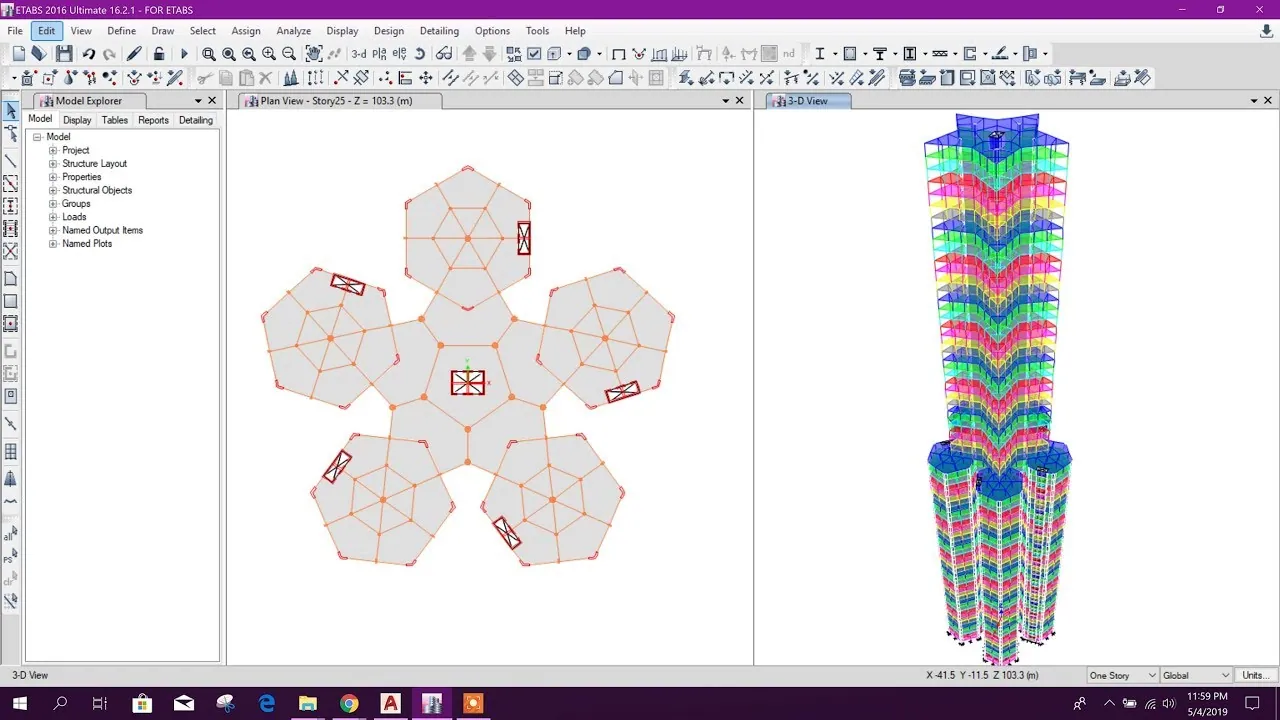
A complete high-rise structural dossier takes an engineer through many stages: scheme selection, modelling, vertical and lateral load analysis, member design, then the foundations. Along that chain ETABS performs the global analysis, SAFE covers slabs and footings, and SAP2000 deals with anything outside the high-rise template.
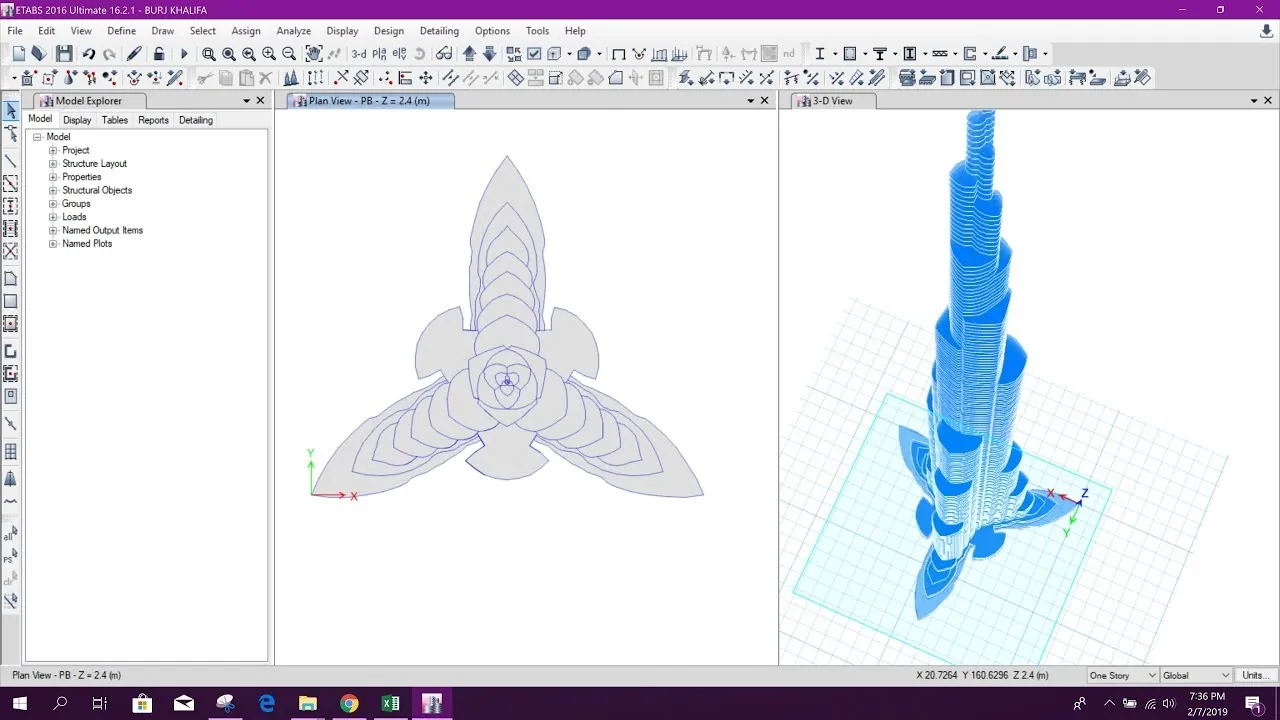
This classroom course at the RDSIC training centre of the Institute of Information Technology in Civil Engineering — Hanoi University of Civil Engineering (HUCE) reproduces that exact workflow across 15 sessions. Learners build and analyse the models in class under practising design engineers, absorbing both the software skills and the judgement behind each design decision.
What you will learn
- Master the high-rise sequence: scheme choice, modelling, analysis, member design and documentation.
- Standardise input data: applicable codes, materials, sections and load cases.
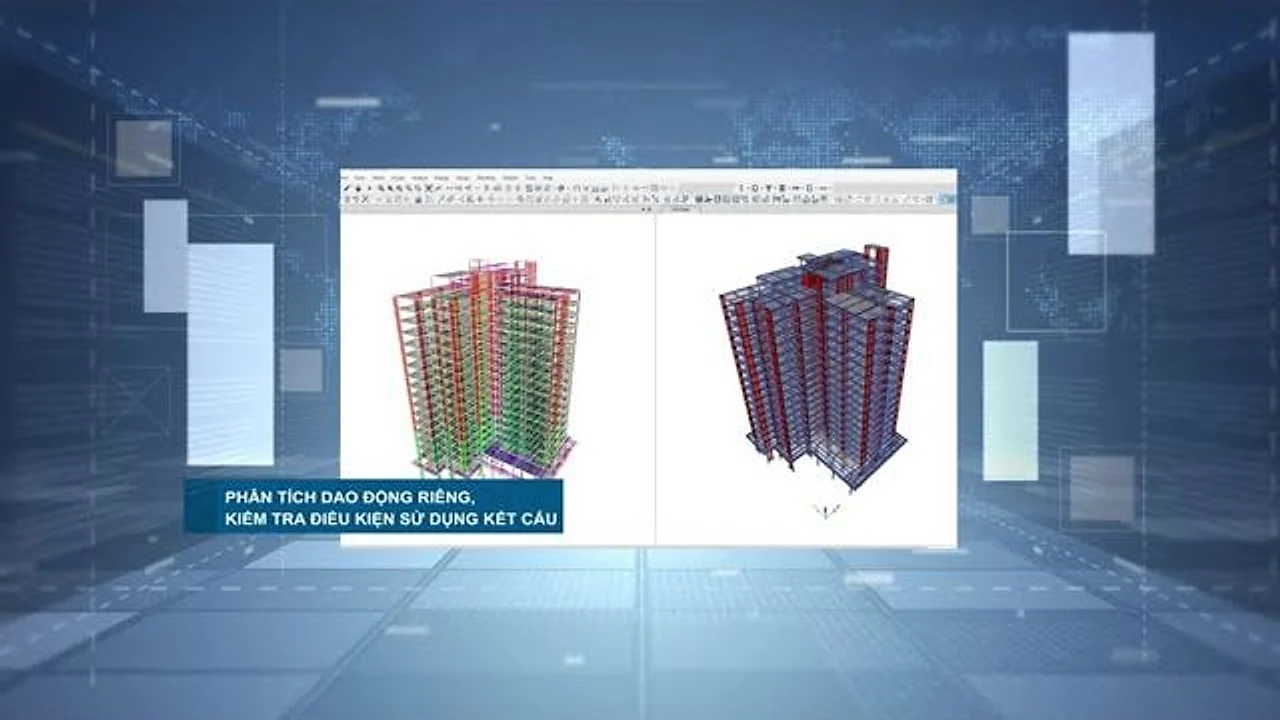
- Compute wind and seismic actions per Vietnamese standards and judge schemes via modes, drift and staged construction.
- Design reinforcement for vertical and horizontal members, including transfer beams, transfer slabs and post-tensioned floors.
- Check serviceability, then design pile, strip and raft foundations plus basement walls and stairs in SAFE.
- Extend to SAP2000 for steel buildings, towers, space trusses, silos, tanks and box culverts.
Who should enrol
- Engineers newly hired by design consultancies who must get productive on high-rise projects fast.
- Students about to start a reinforced-concrete high-rise graduation project.
- Self-taught ETABS users unsure about scheme evaluation and foundation design.
- Companies sending engineer groups for standardised in-house calculation workflows.
Detailed syllabus
1. Opening session: structural systems and tools
- Recognising common structural systems and comparing today's design software
- The CSI story and its three products: ETABS, SAP2000, SAFE
- First steps in each program's interface
- Project types covered: high-rise, industrial, water tanks, towers, trusses, silos, culverts
2. Finite element foundations and project setup
- Element types and the data the software suite manages
- Coordinate systems and essential theory
- The standard sequence for a new model; two grid-creation approaches
- Choosing codes: Vietnamese standards first, international references as needed
3. Data declaration and the gravity-load model
- Four material groups: concrete, rebar, structural steel and prestressing tendons
- Sections for frame, shell and tendon elements
- Defining and assigning vertical loads
- Assembling the model, setting boundary conditions and hunting errors before the run
4. Vibration and lateral loads
- Completing the model and examining natural modes
- First evaluation round for the structural scheme
- Adding wind and seismic loads for a second evaluation round
- Scheme judgement using three criteria and two conditions
- Activating staged-construction analysis (Auto Construction Sequence)
5. Designing the primary members
- The column problem
- Walls and stiff cores
- Ordinary beams through deep and transfer beams
- Ordinary slabs through transfer, post-tensioned, Uboot and Decking floors
6. SAFE: from serviceability to foundations
- Beam and slab deflection and cracking at the second limit state
- Piles and pile caps
- The remaining footing types: isolated, strip and raft
- Auxiliary items: basement walls, ramps, staircases
7. SAP2000 beyond the high-rise
- Similarities and differences analysing with SAP2000 versus the ETABS - SAFE pair
- Pre-engineered steel buildings: modelling, analysis, column and rafter design
- Other structures: space trusses, towers, thin shells, silos, tanks of all kinds, box culverts
8. Review and final assessment
- Consolidating knowledge across the three programs
- Advanced modelling, management and printing tips
- Case discussion and professional experience exchange
- End-of-course assessment
Learning format
Fifteen sessions on high-rise design across SAP, ETABS and SAFE — from building the analytical model through drift checks to foundation design. Choose one of three formats:
- Online — The instructor teaches live on Microsoft Teams to a fixed timetable. You work in ETABS at the same time and submit models during the session for review; the mistakes that quietly skew results — a wrong section assignment, a shear wall left undeclared — usually surface the moment an instructor opens your file. Every session is recorded.
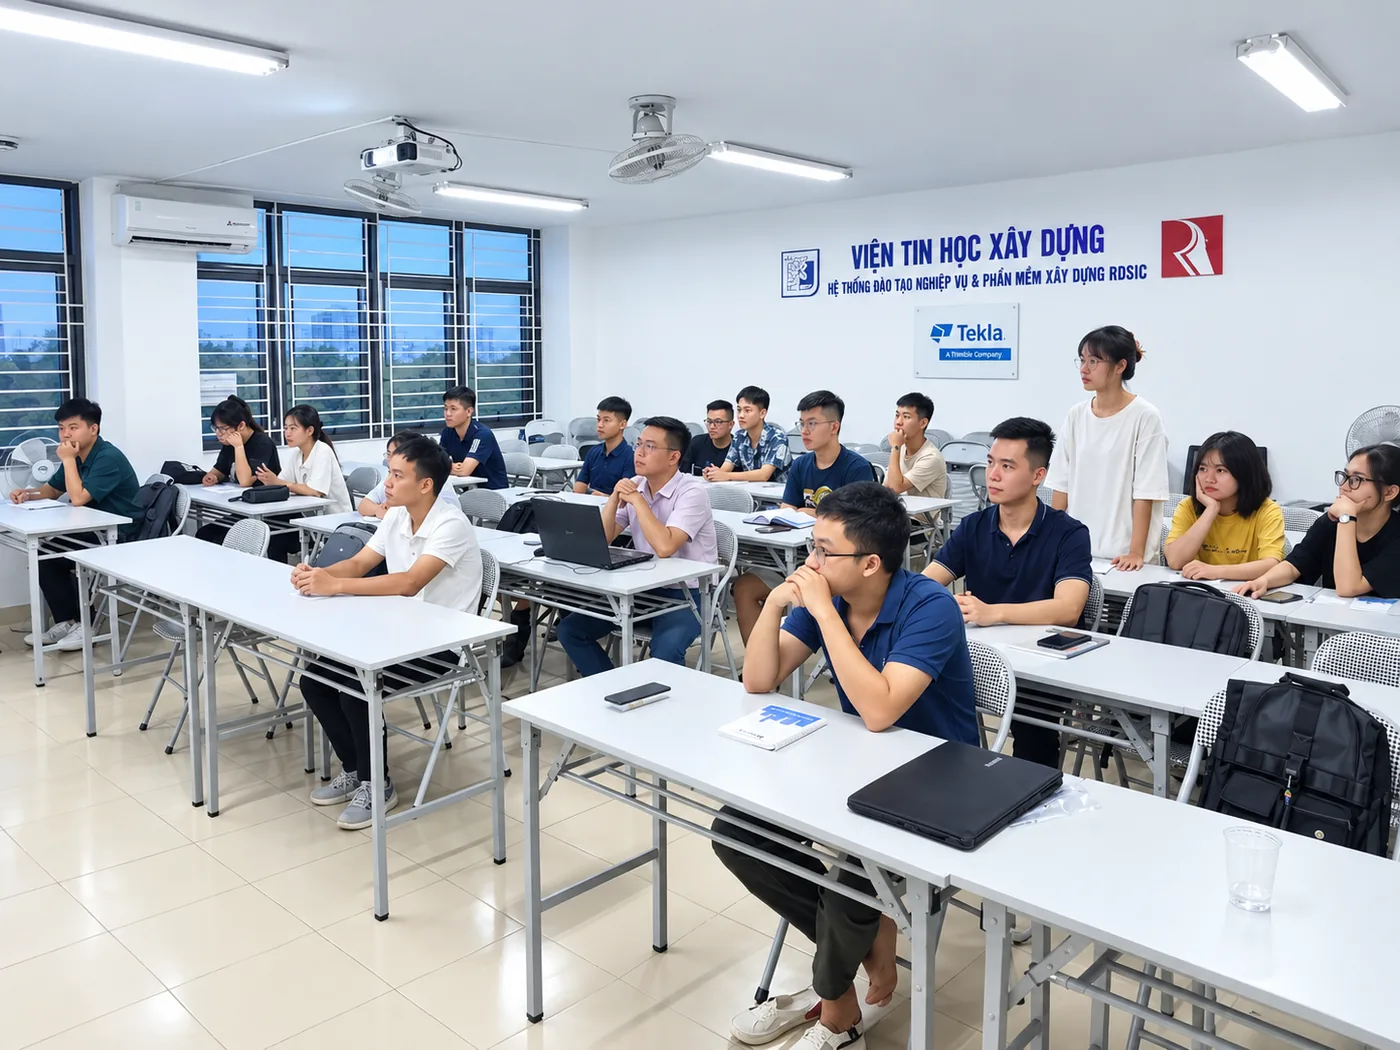
- On campus — In-person classes in Hanoi and Ho Chi Minh City, opened as the centre announces each intake. Most students already work in the field, so the conversations between sessions about their own live projects often prove as valuable as the teaching.
- At your company — The instructor comes to your office, uses the high-rise your team is designing as the case study, and helps set the checks a model must pass before it goes for approval. Duration and content follow the project timeline; fees are quoted separately.
Whichever format you choose, the syllabus, the sample project files, the post-course support and the certificate are the same. Tuition is shown in the table at the top of this page.
Course lecturers
The lecturers in charge of this course. Open a profile to see each lecturer's full CV.
 Nguyen Ba MuiETABS, SAP2000 & drawing-reading leadDirector of MNB Vietnam Construction Consulting JSC, structural lead on grade I buildings; over 100 courses taught at the Institute since 2014.View profile →
 MSc. Pham Ngoc VuongHigh-rise structuresHead of technical department; designed a 39-storey twin tower and co-developed three structural programs: RDSUITE, RDCAD and RDSTEEL.View profile →
 Nguyen Van AnhAutoCAD and ETABS – SAFE instructorHead of Programming at FrameTech DNG JSC, writing AutoCAD and Tekla automation; a structural engineer since 2015.View profile →
Class photos and videos
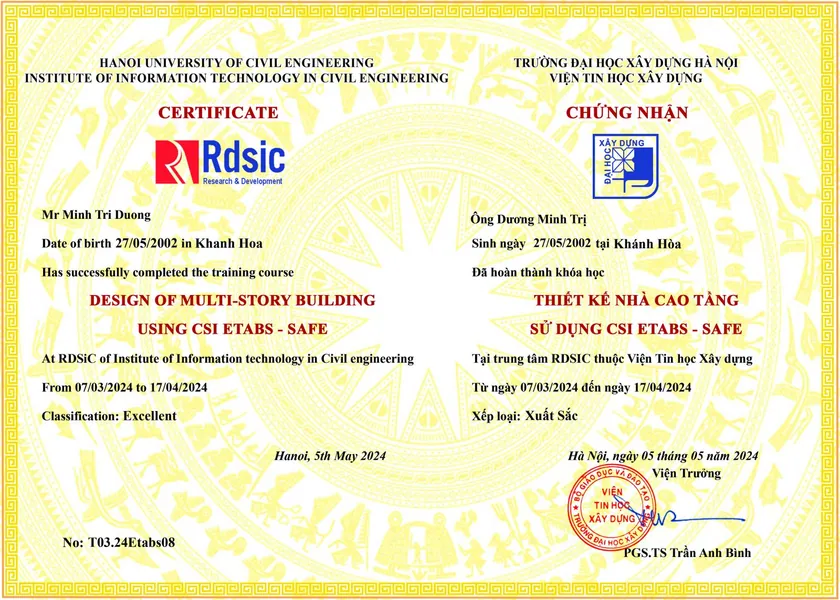
Certificate of completion
Learners who pass the final assessment receive a certificate from the Institute of Information Technology in Civil Engineering — Hanoi University of Civil Engineering. Call 0989 427 809 or 0914 388 841 for the next intake schedule.
Promotions and discounts
Group tuition discount — applied to every group member and the group leader:
| Group size | Group members | Group leader |
|---|---|---|
| 2 people | 5% off | 10% off |
| 3 people | 5% off | 15% off |
| 4 people | 5% off | 20% off |
| 5 people | 10% off | 25% off |
| 7 people | 10% off | 30% off |
| 10 people | 10% off | 50% off |
| 15 people | 10% off | 70% off |
| 20 people | 20% off | 100% off |
Note: this discount cannot be combined with any other promotion.
Discounts for taking multiple courses at RDSIC
- Take two courses in parallel and get 10% off the tuition of each course.
- Your second course at RDSIC is 10% off.
Deferral policy
- In-person courses: deferral of up to one year from the date the centre confirms it.
- Online courses: no deferral; as an exception, students who have attended less than 50% of the course may be granted a deferral of up to one year.
Related courses
Browse the full list at Construction Courses.